Installation of
the hair complement
10 steps for a secure and natural attachment.
Golden rule: work in a well-lit space with a mirror. Take your time on the frontal line — it determines the naturalness of the result.
Preparation
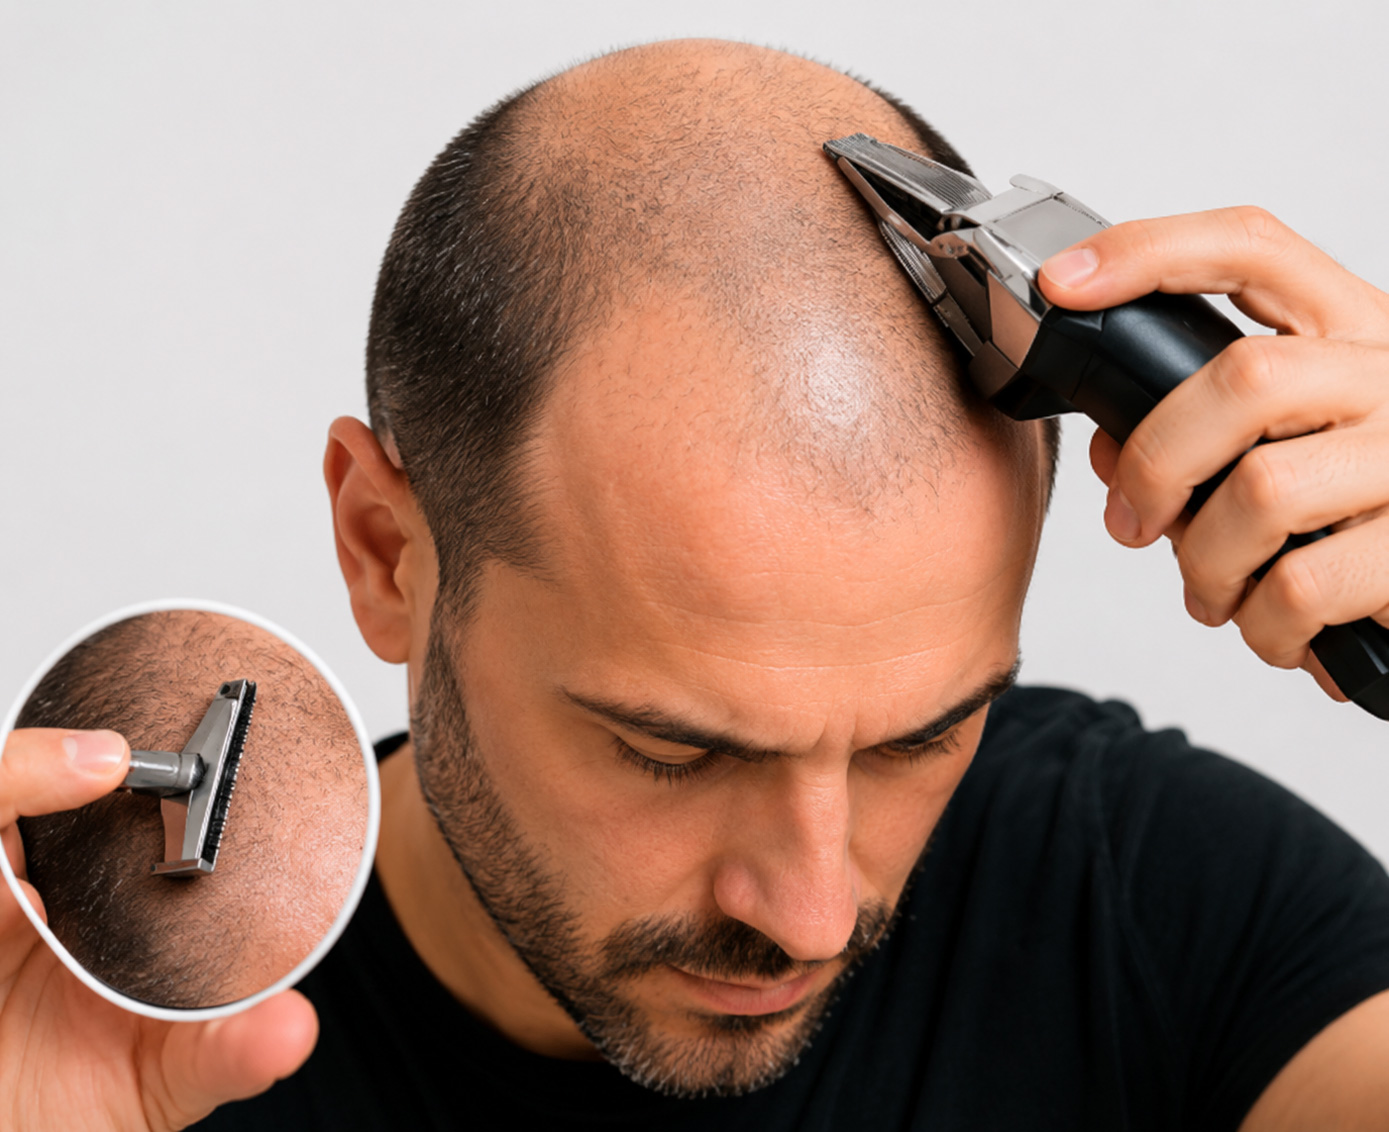
Shave the head
Shave the installation area with clippers and then with a razor to achieve a smooth and even surface. Shaving ensures maximum adhesion.
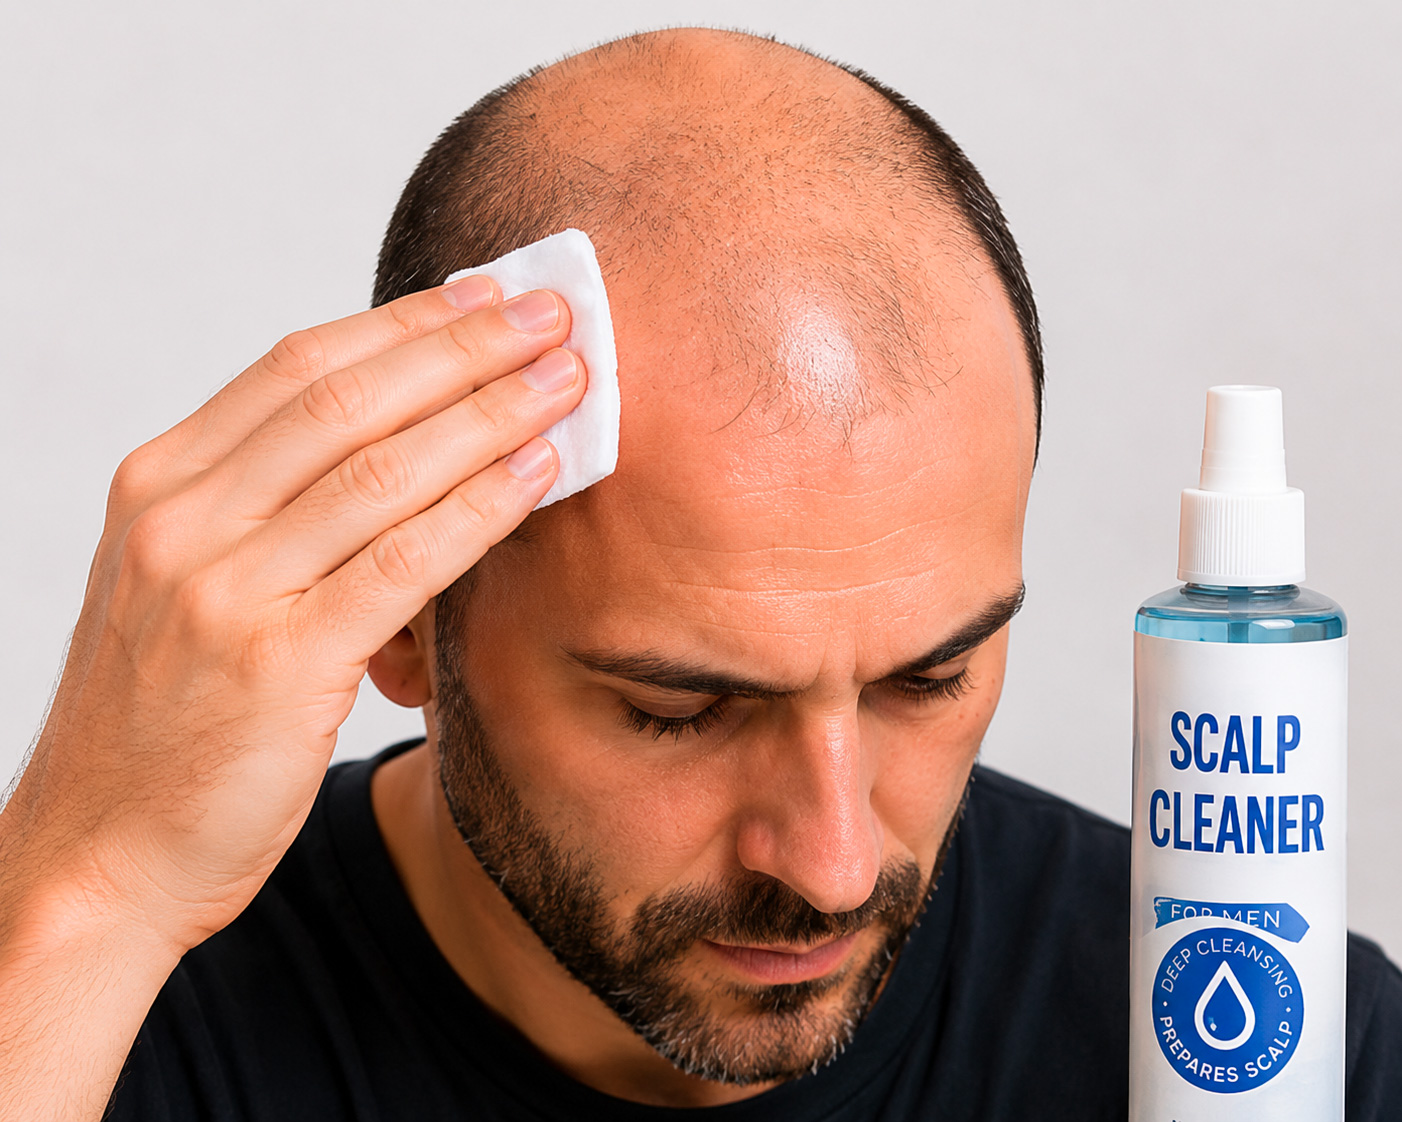
Prepare the head
Clean and degrease the shaved area with a scalp cleanser. The skin must be perfectly clean and dry.
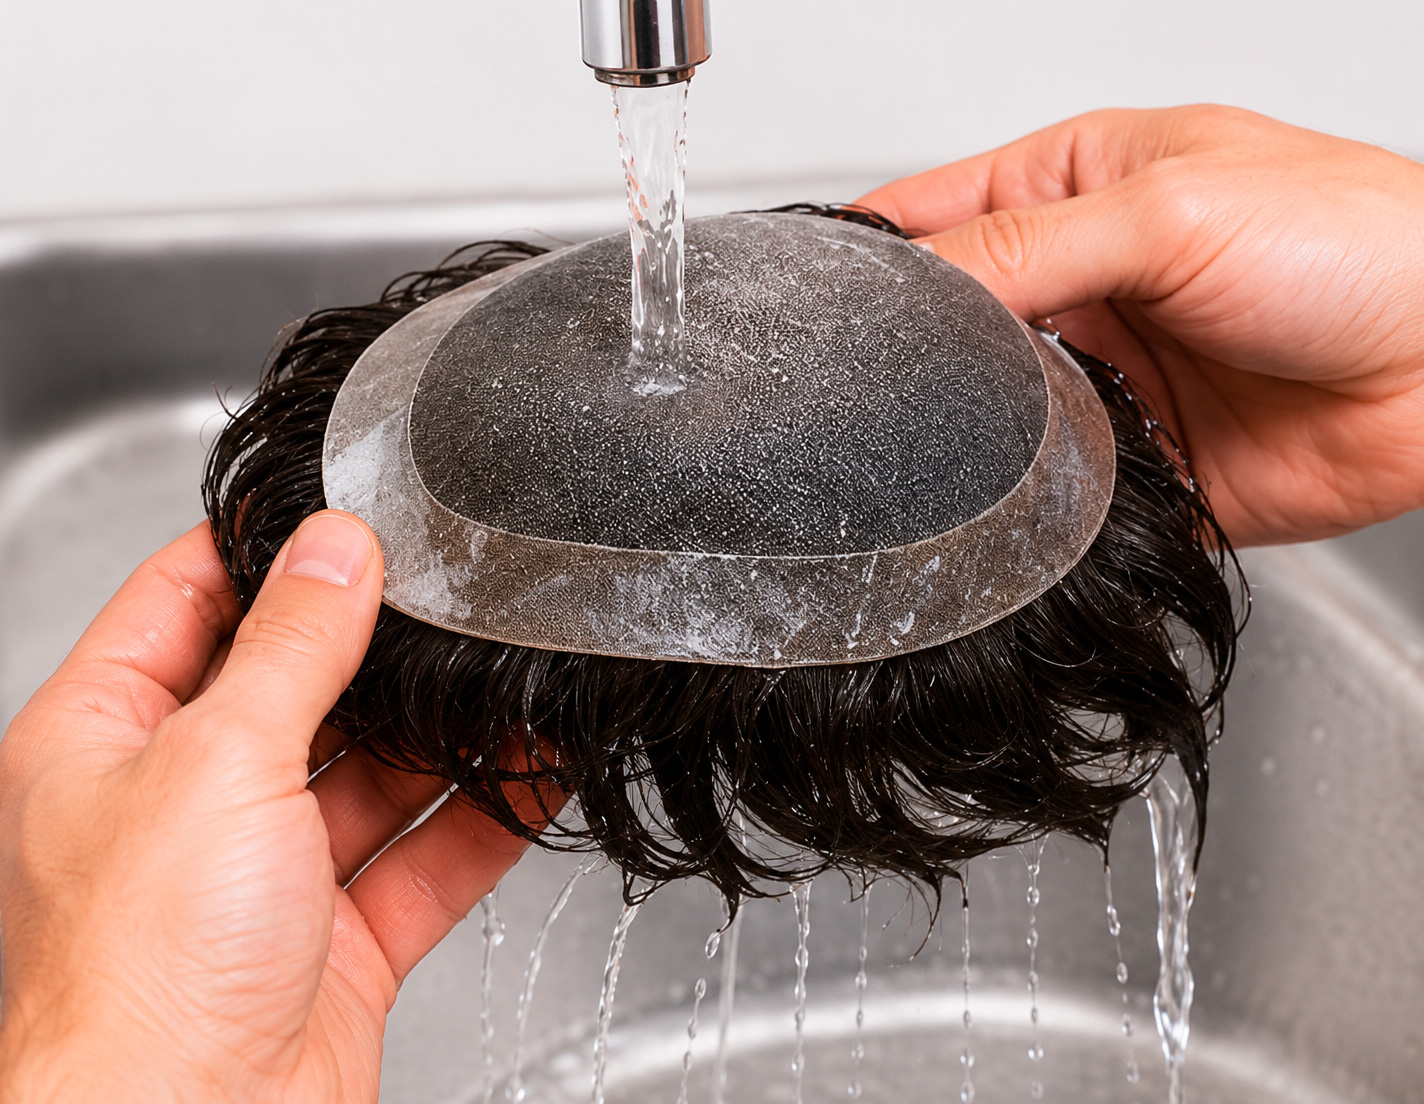
Prepare the complement
Clean the base of the complement. Ensure that the cut matches the installation area.
Application and installation
Apply the adhesive
Apply glue or tape on the head (and/or on the base). For liquid glue, let it dry until it becomes tacky to the touch.
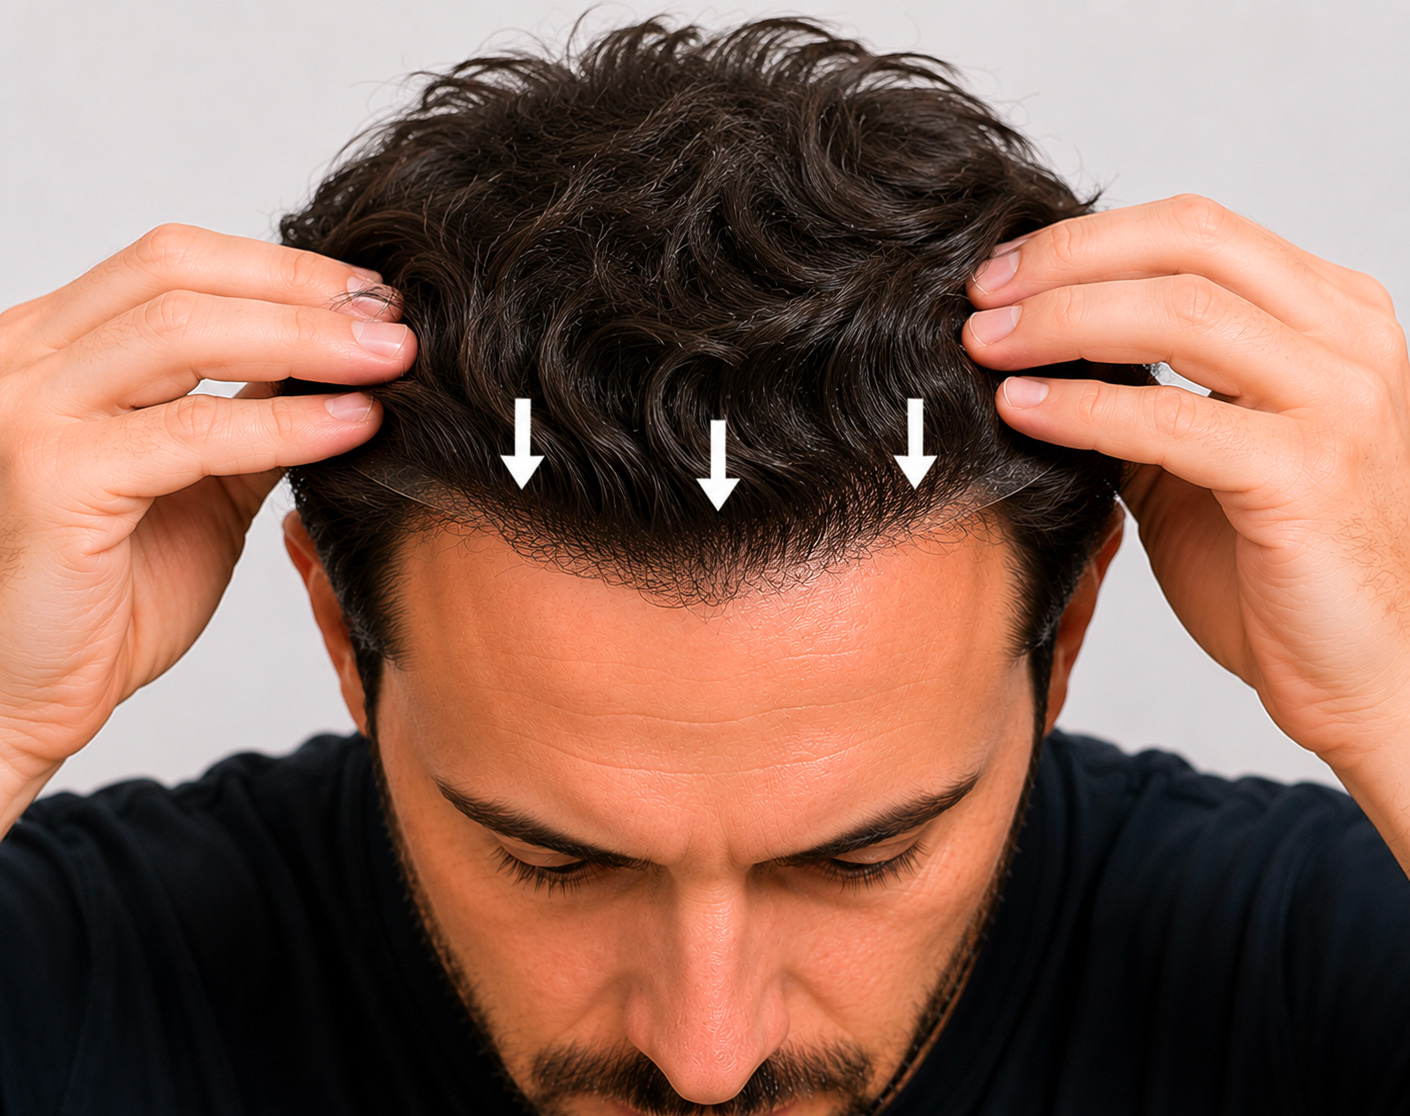
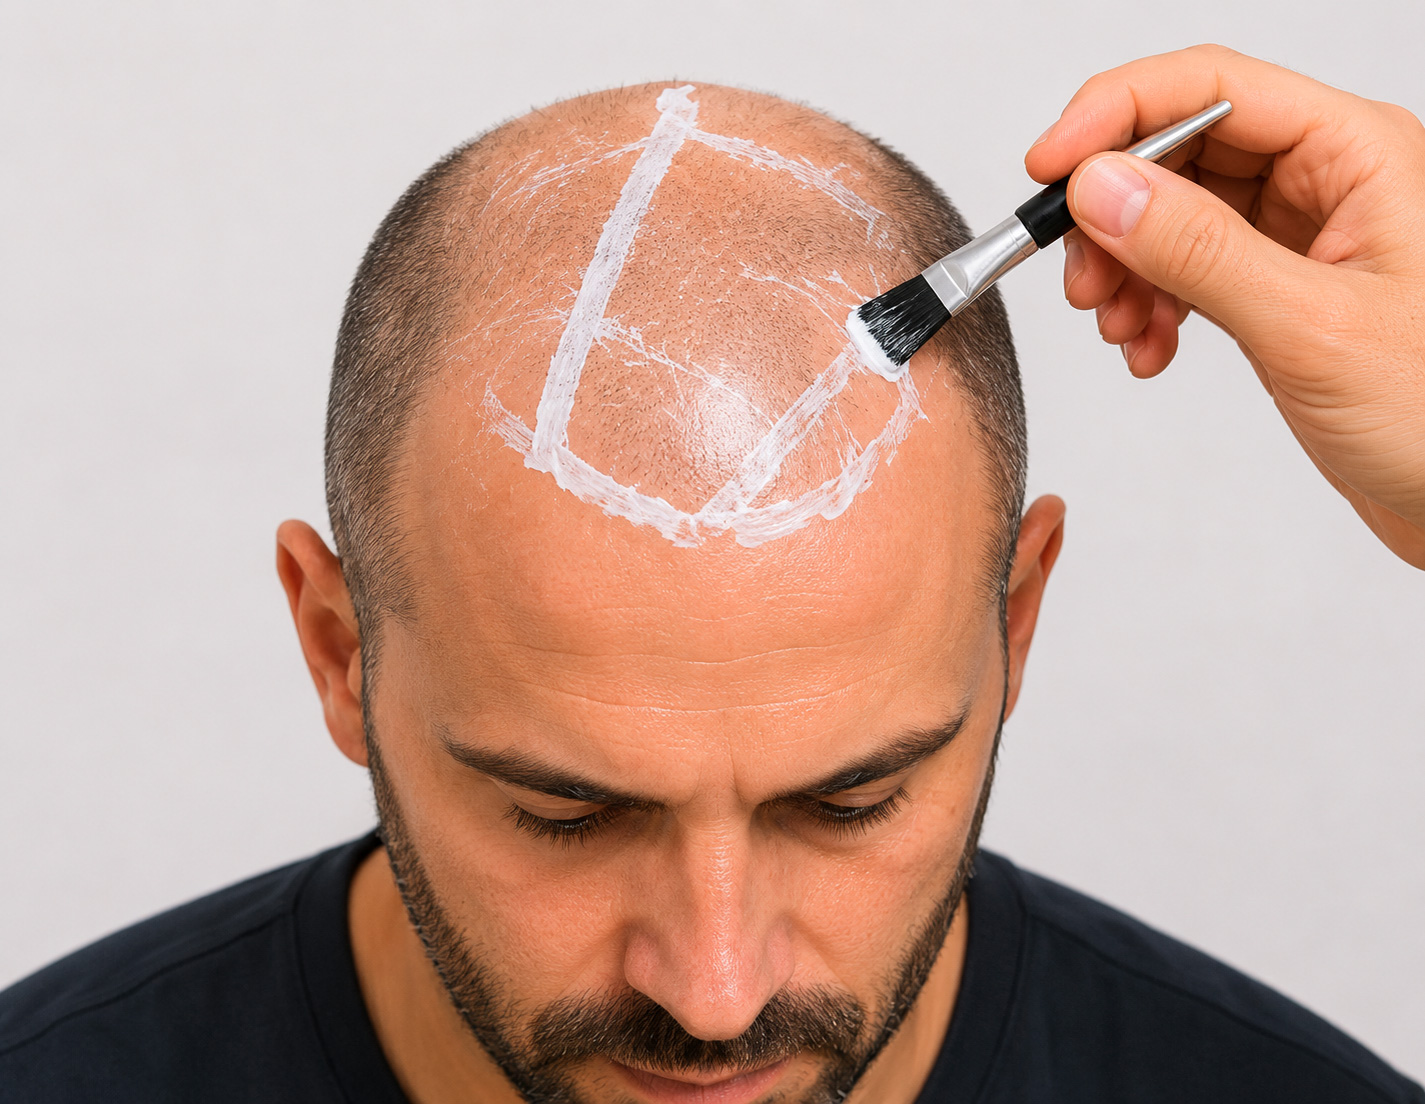
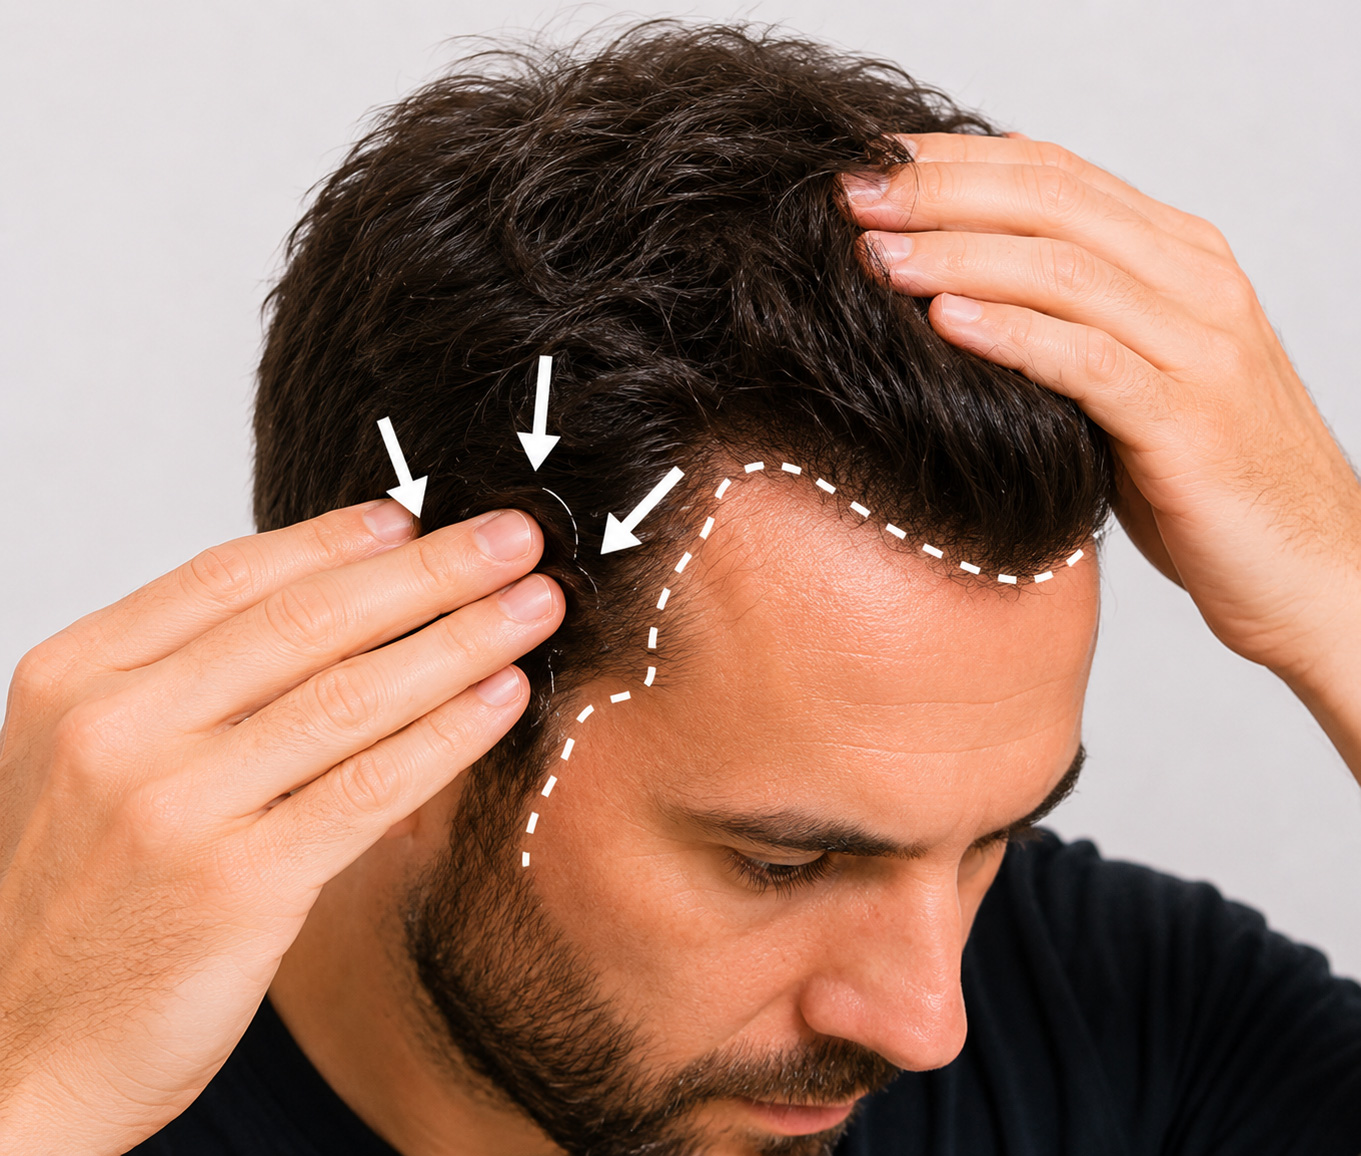
Position the frontal line
First place the front edge by aligning the frontal line with the markers. This is the most important step!

Gradually place
Unroll the complement from front to back while gently pressing, section by section. Avoid air bubbles and creases.
Secure sides & temples
Press the side edges onto the temples and sides firmly. Contour to the shape of the head.
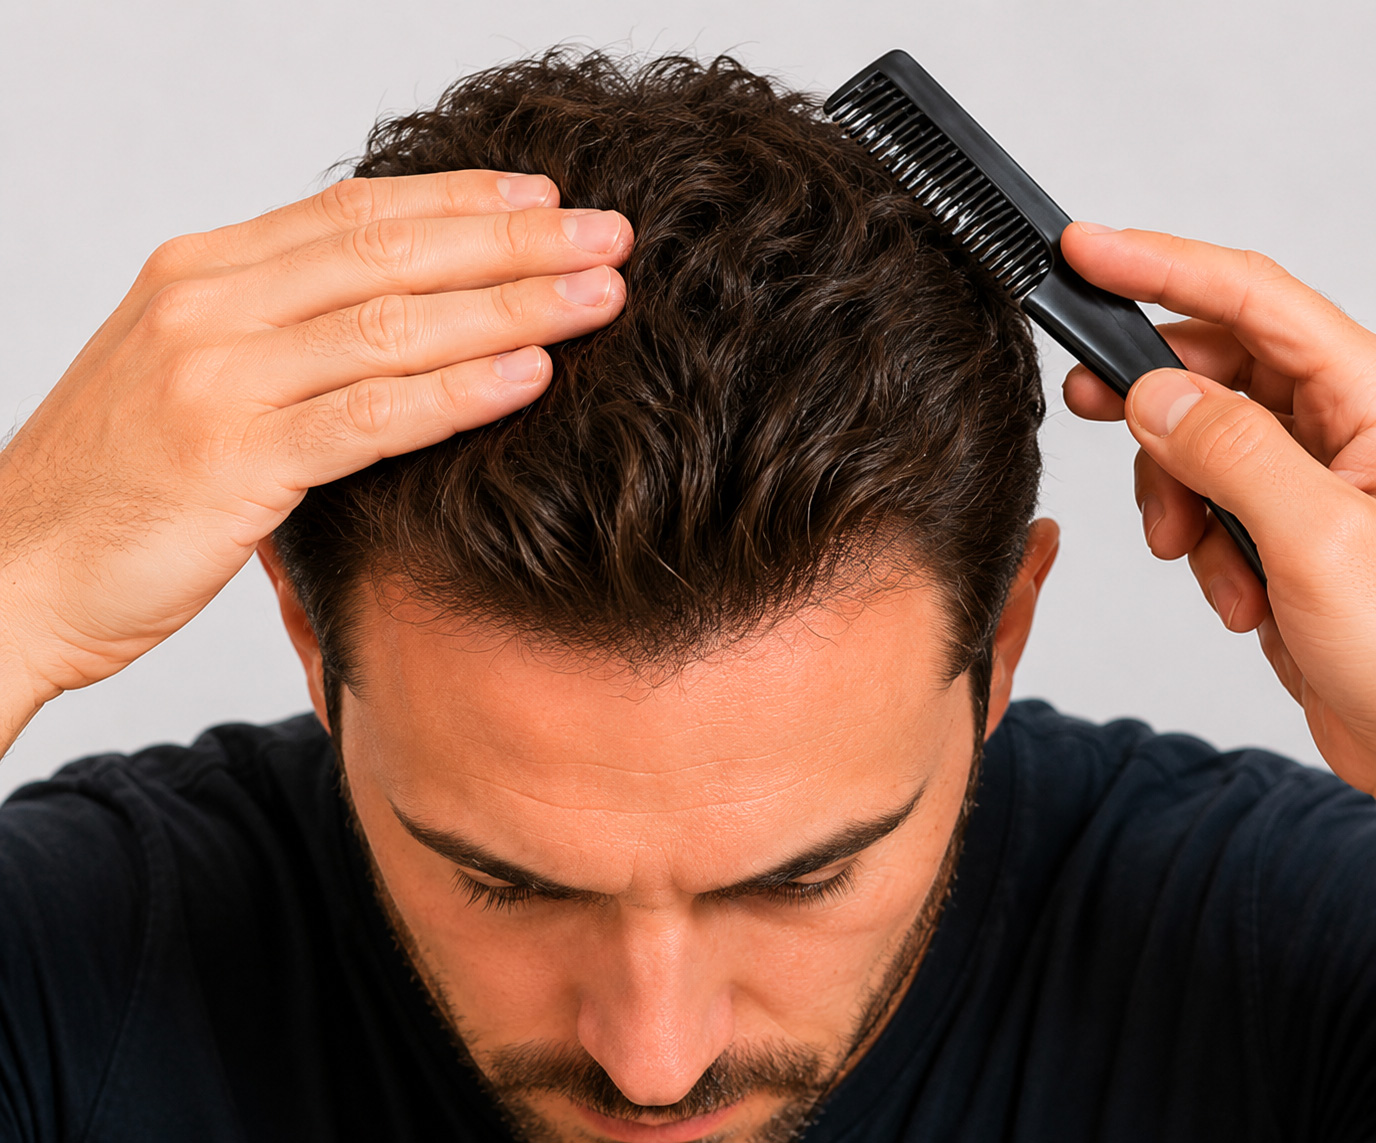
Press & secure
Press the entire system with your hands or a fine-toothed comb for even adhesion. Focus on the edges.
Finishing touches

Style and blend
Style the system to blend with your natural hair. Cut or thin if necessary for harmony.
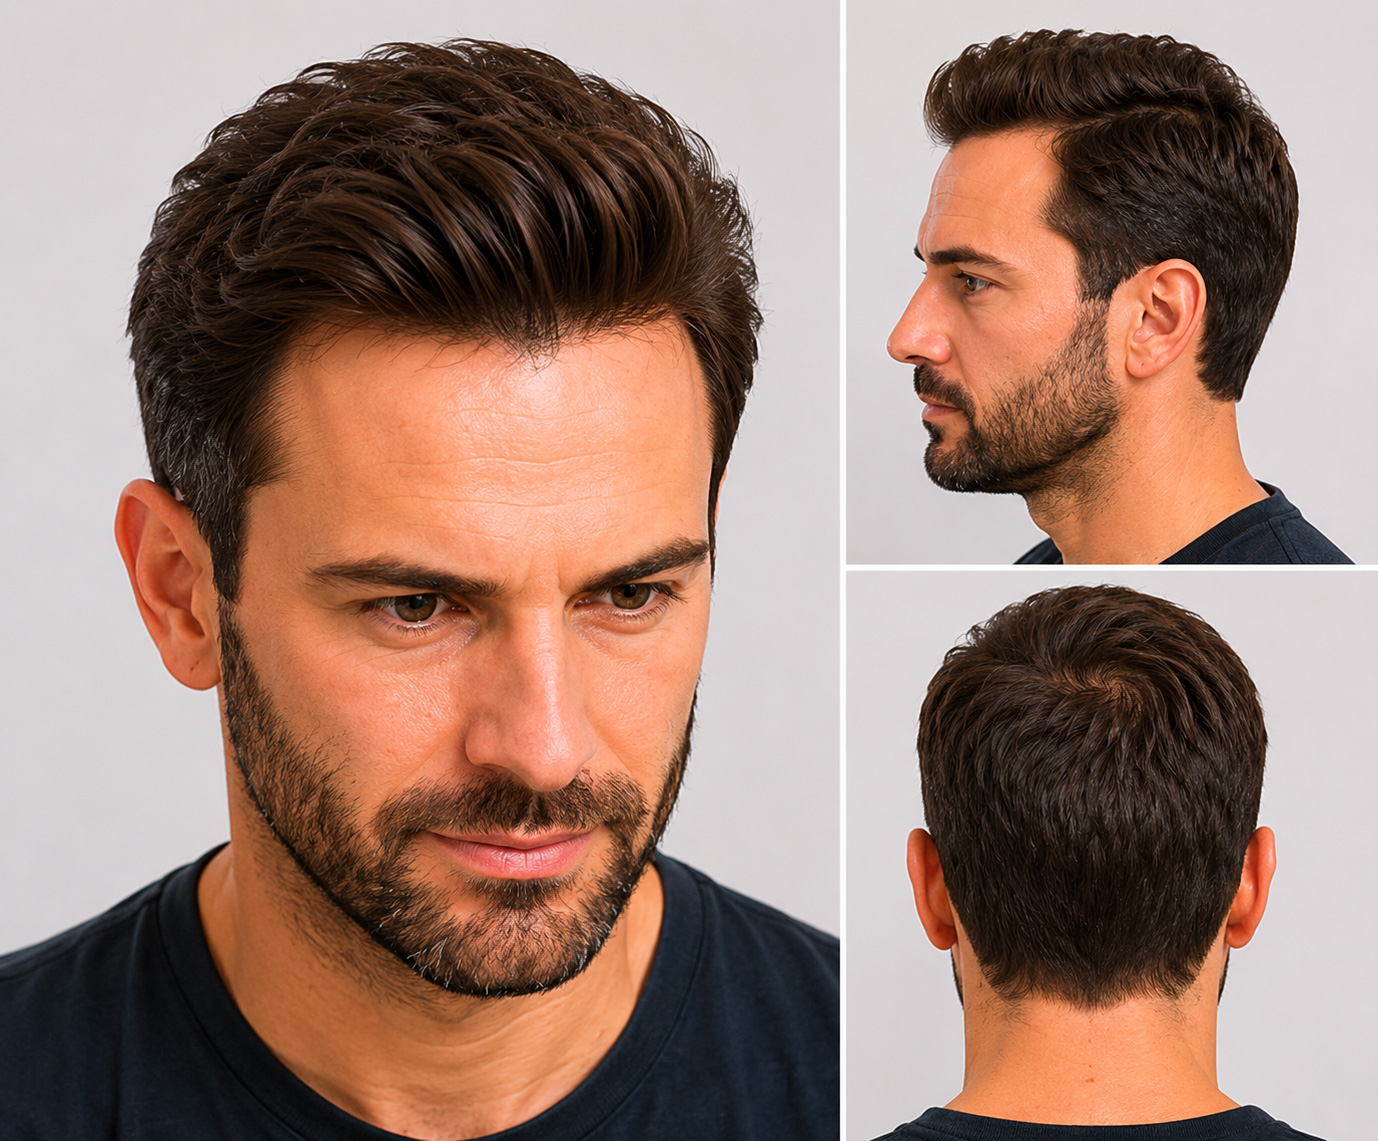
Final check
Check the result from different angles. Inspect the hairline and contours: the result should be undetectable.
Key points
- A well-shaved and clean scalp = long-lasting hold
- The hairline is the key step for a natural look
- Press from front to back to avoid bubbles
- Do not hesitate to reposition as long as the adhesive is still soft
- A good adhesive + good preparation = total discretion
Maximum adhesion · Natural result
Long-lasting hold · Total discretion
Need help?
Our partner salons can install your hair system.
Find a salon