Cutting the
hair system
Proceed step by step and cut gradually. It is always possible to remove, but not to add.
Golden Rule: cut gradually and check regularly. When in doubt, it is better to leave a bit more material. Follow the natural line of the skull.
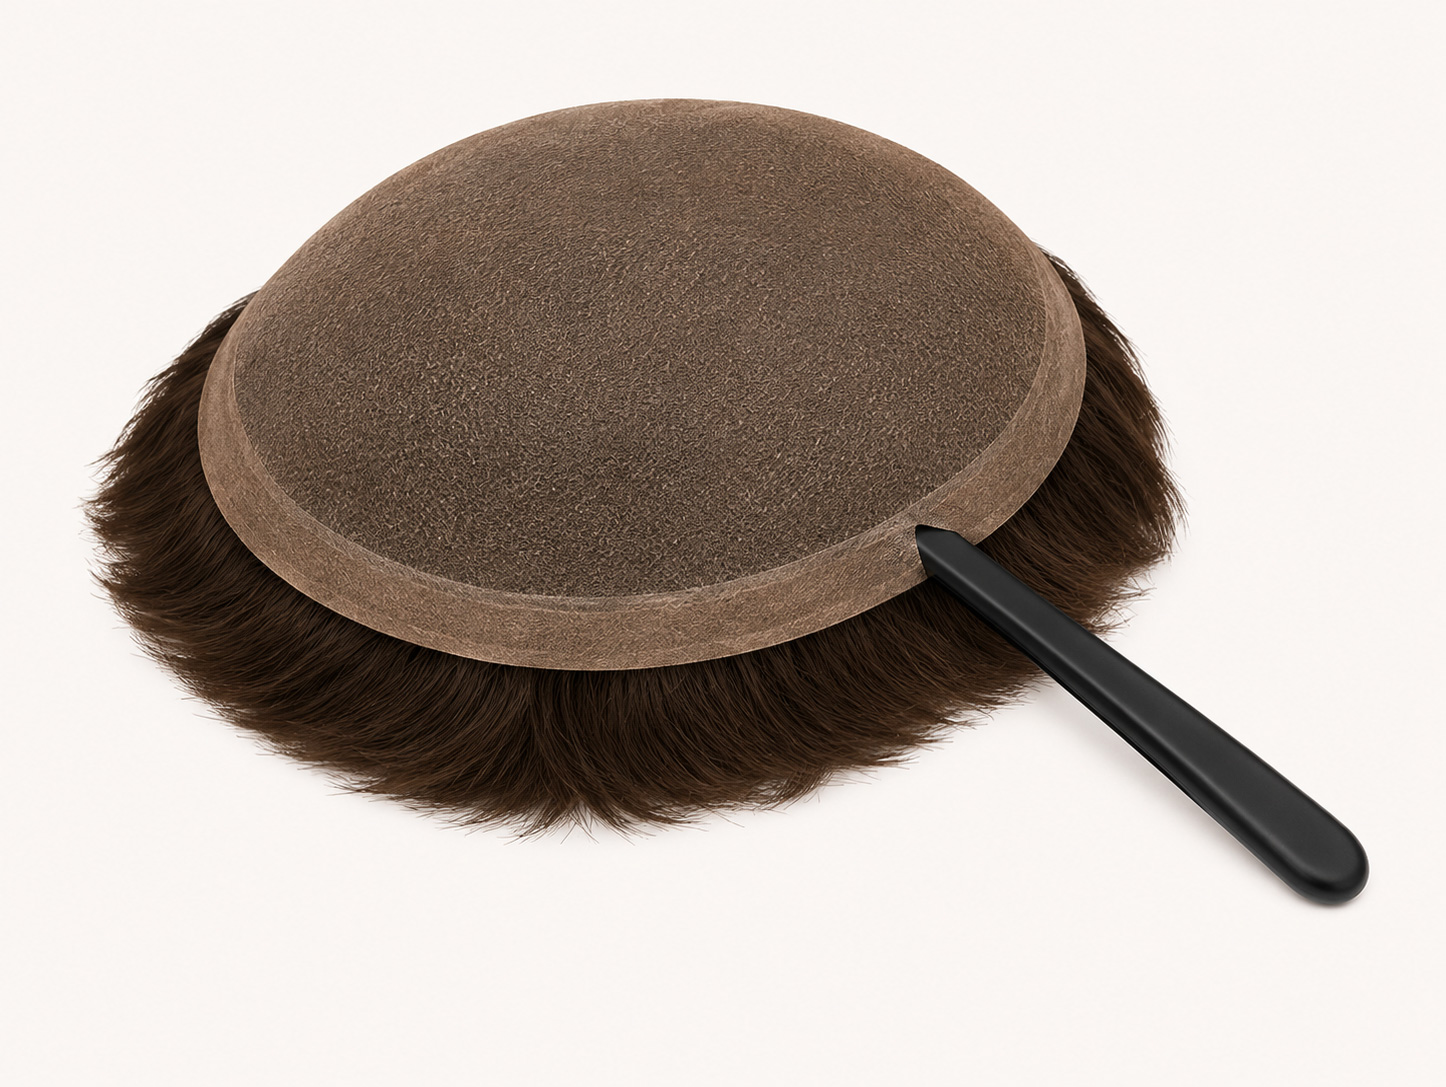
Preparation and marking
Prepare
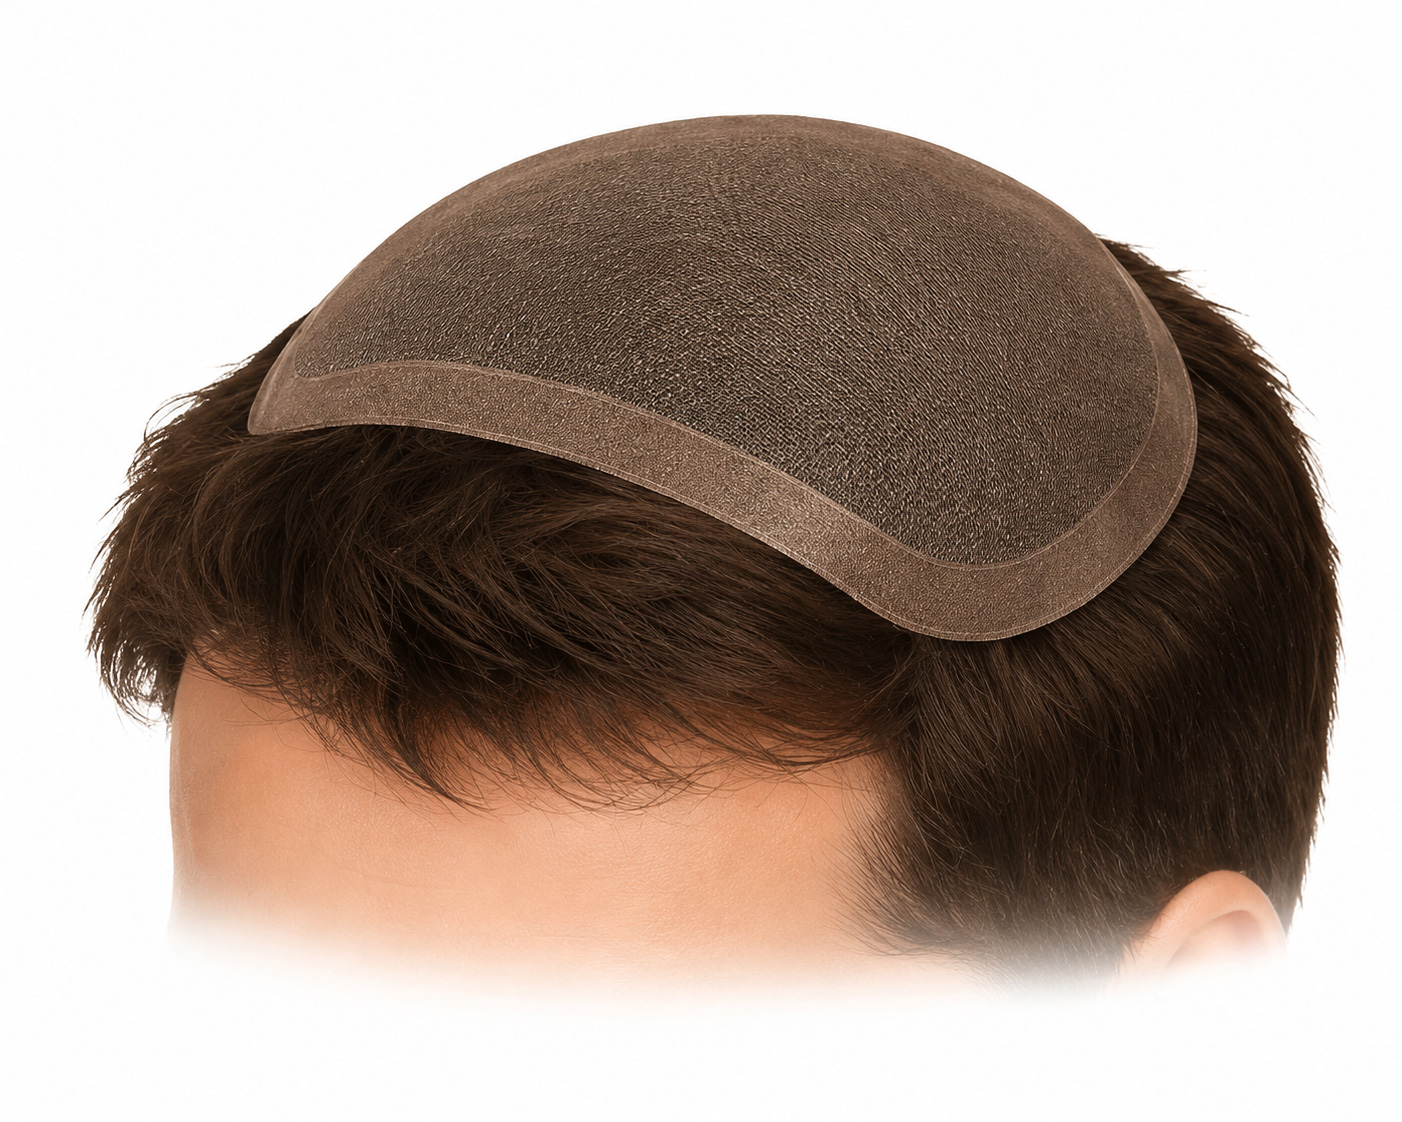
Place the system on a head (cap or client). Ensure it is well positioned and centered.
Mark the line
With an erasable marker, draw the cutting line following the natural contour (1 to 2 mm inside the desired line).
Check
Remove the system and check that the drawn line corresponds to the desired shape.
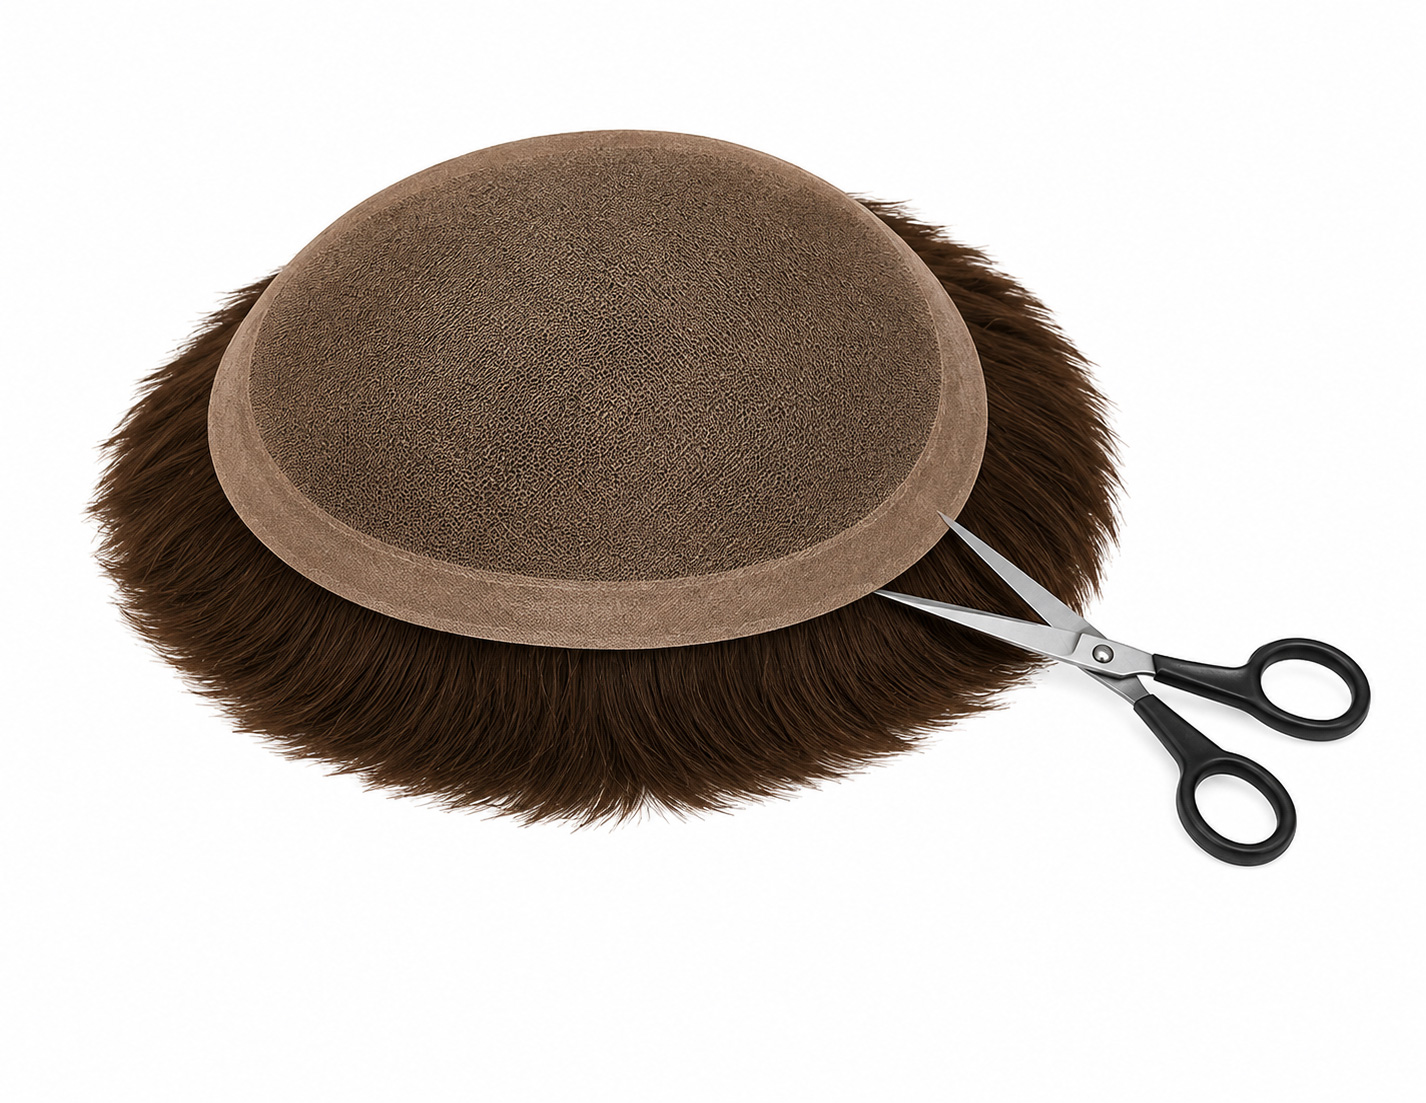
Cutting and adjustment

Start cutting
Gently cut along the drawn line. Start with small sections, without rushing.
Try
Reposition the system on the head to check the fit and symmetry. Compare with the measurements.
Adjust
If necessary, remove the system and adjust the cut by removing very small amounts.
Finishing touches
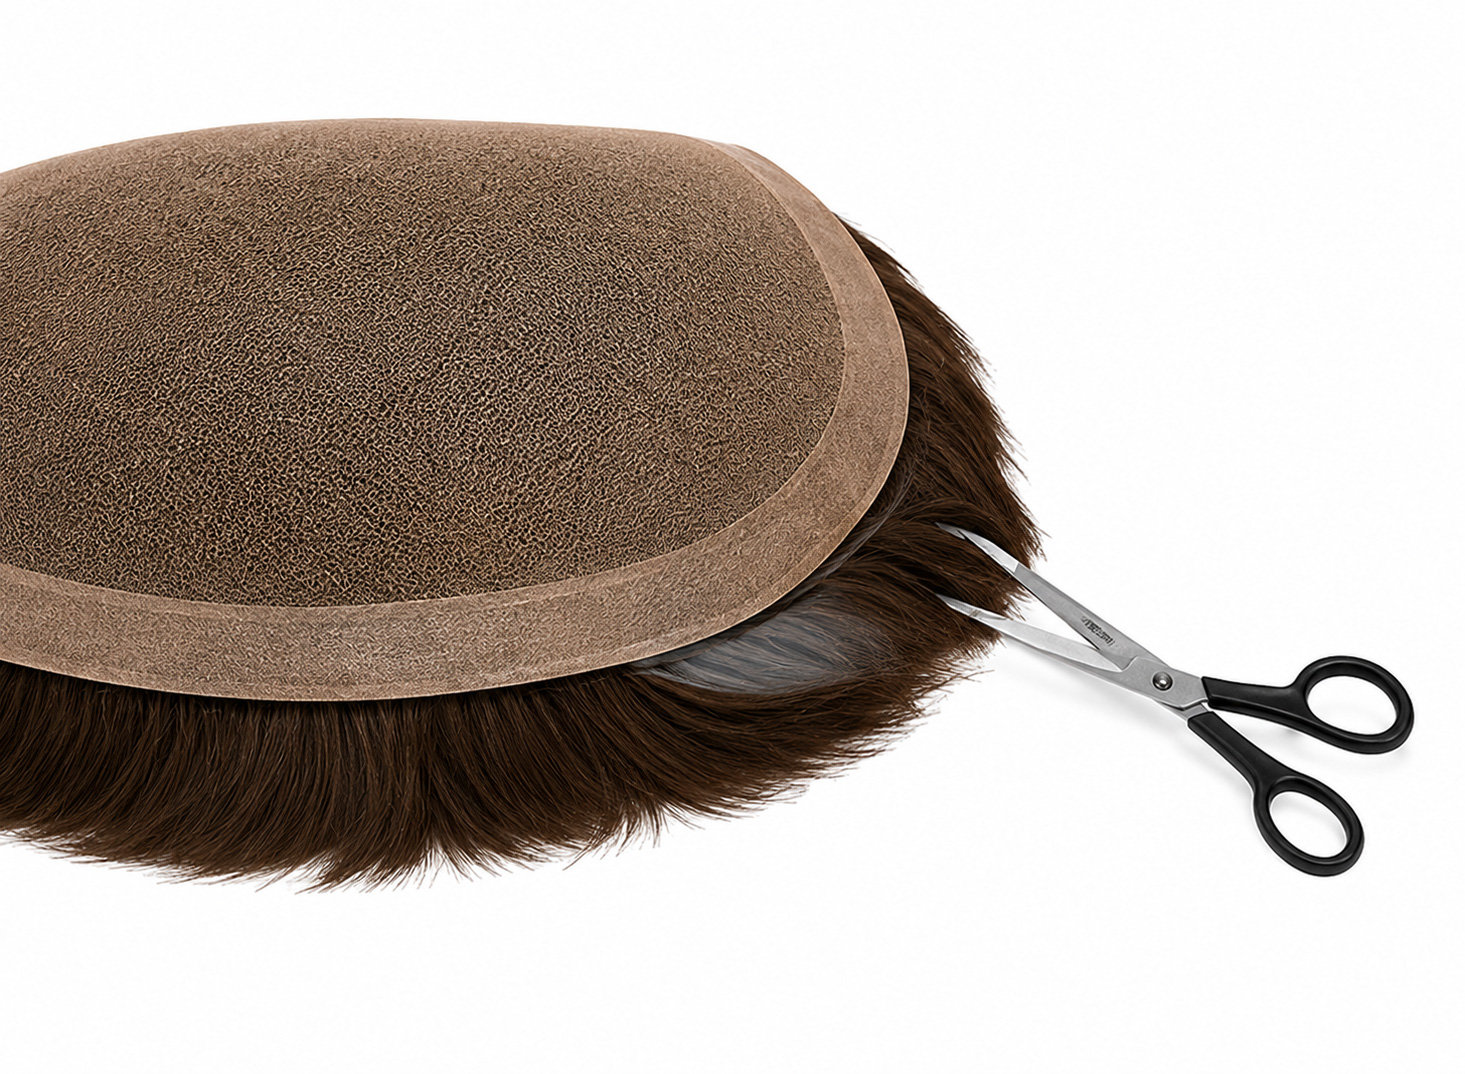
Refine the contours
Harmonize the contours, especially at the front (hairline) and on the sides for a natural and undetectable result.
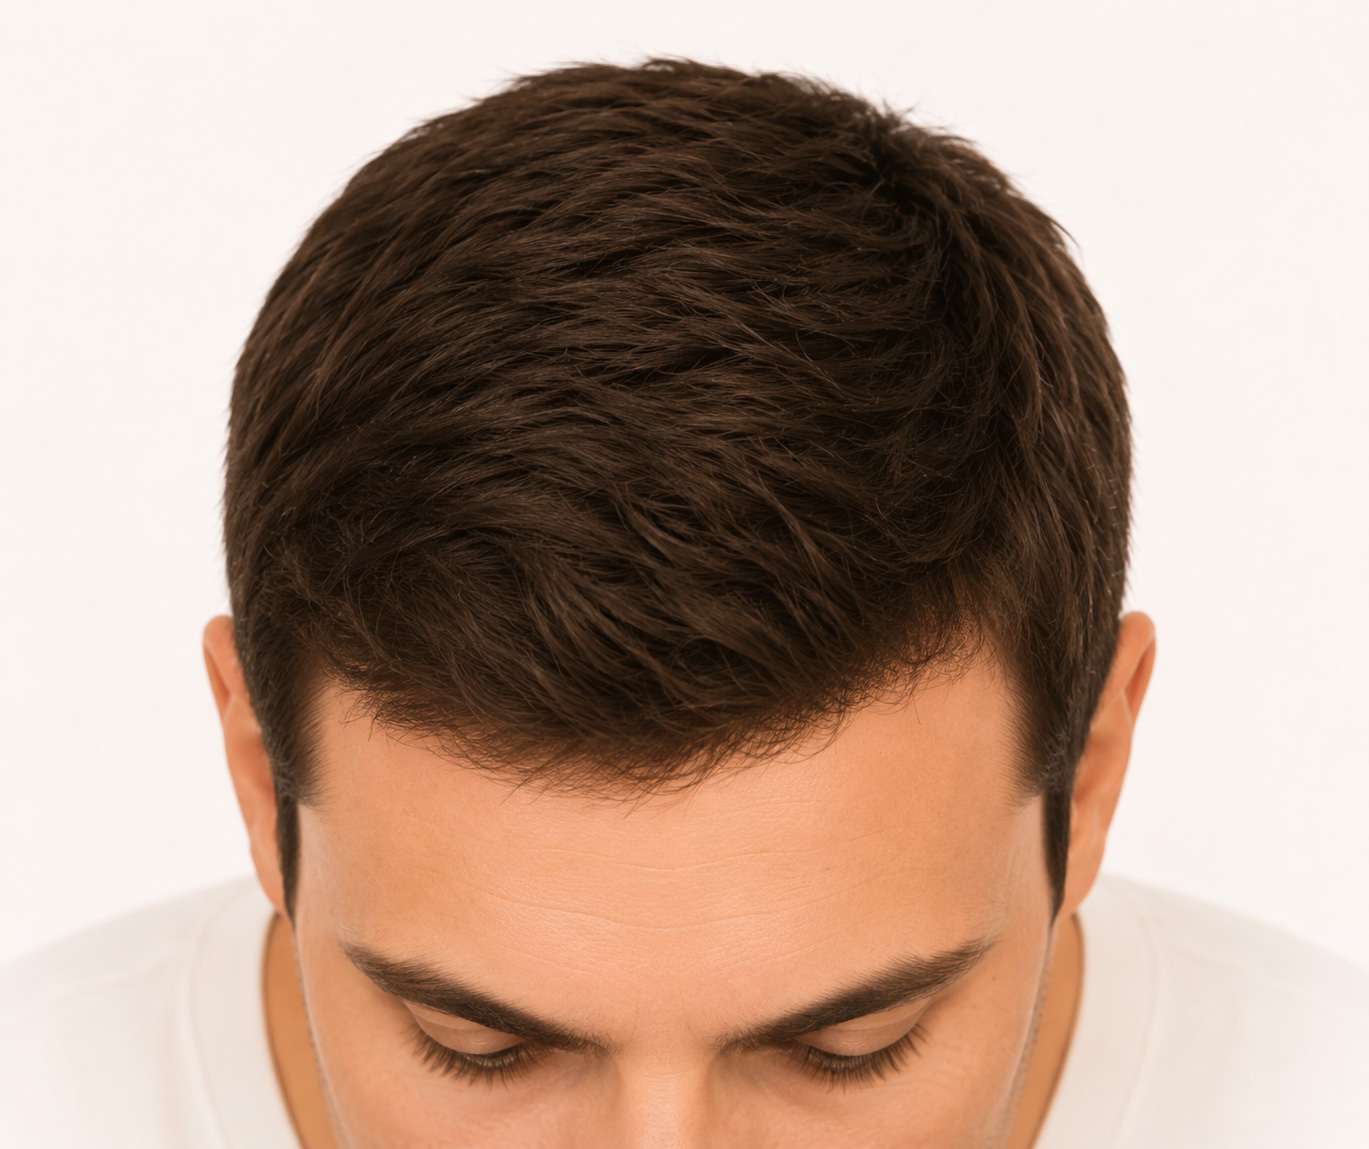
Final check
Check comfort, symmetry, and natural integration. Ensure the system perfectly conforms to the shape of the skull.
Clean
Remove hair residues and clean the base before final placement. Eliminate marker traces.
To remember
- Cut gradually and check regularly
- Follow the natural line of the skull
- When in doubt, it is better to leave a bit more material
- Use fine-tipped and well-sharpened scissors
- Work in a well-lit space
A good cut = comfort, discretion, and natural result.
Need help?
Our partner salons can perform the cut and fitting of your hair system.
Find a salon